The Time Output for Production Orders is registered with the Output oder Production Journal, After the production is done you can register the used Time.
To register the time easier with Starting Time and Ending Time this Functionality was created. The Workers are administrated by Master Data and Authentification and Filters.
The Authentification is possible with PIN(ex. RFID Chip) or Number and Password.
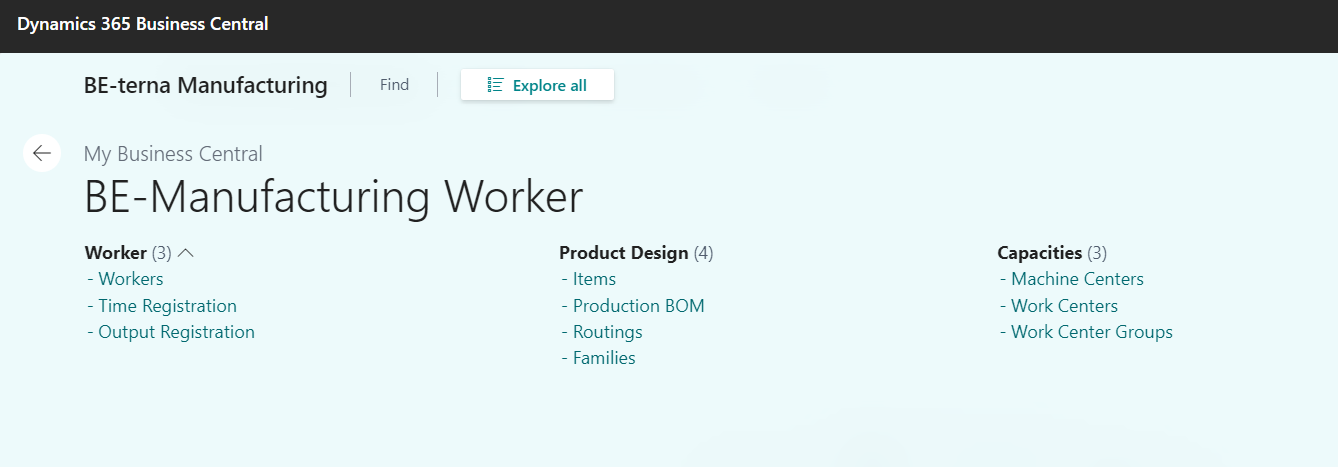
You can use a new Role Center specially created for Workers.
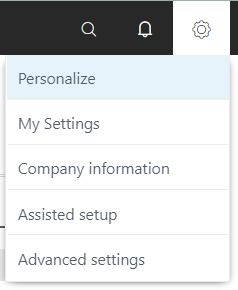
Open the menu Setup and My Settings. The following Page is opend:
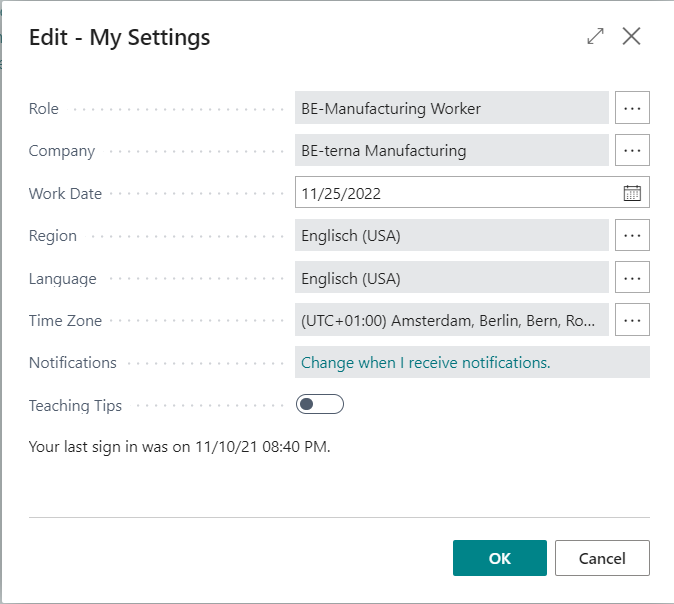
Choose BE-Manufacturing Worker for Field Role.
Select with OK.
The Role Center is simply designed for Setup and Time Registration. The Role Center should be used on Terminals at the Shop Floor or at the Machinery.

Additional to the Authentification (ex. Device License) on the Terminal it is possible to sign in for each single Worker. And use the same Terminal for different Workers.
Choose Menue Workers, Worker and +New*.
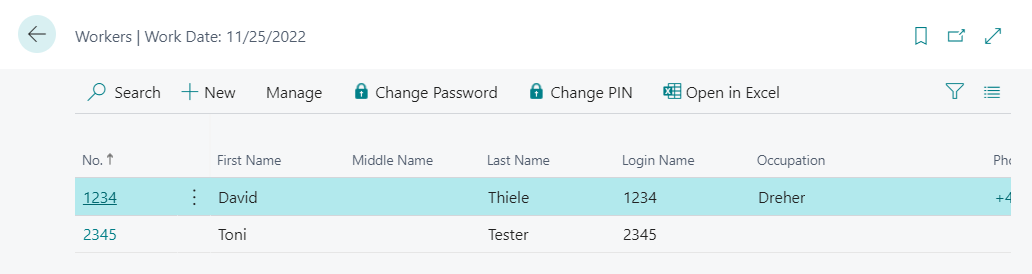
Insert the Field No. with a unique ID for the Worker. Often Employee Numbers or Chip-IDs are used.

You can add Data for the Worker, like Name, Communication Details, Work Center Group, Department Code and others.
To access the dimensions of a worker, choose Worker and Dimensions.
The dimensions page opens:
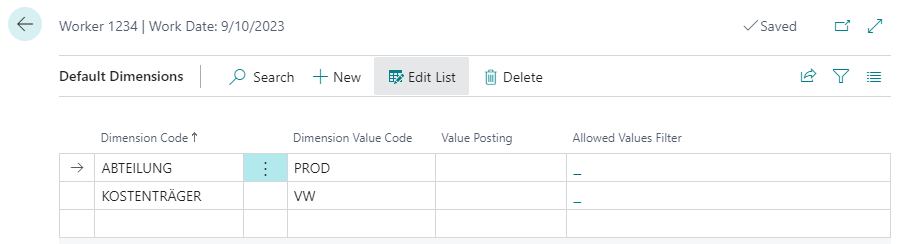
All dimensions can be stored here as default dimensions. Under Manufacturing Setup and BE-Manufacturing Worker you can setup the transfer of the dimensions from worker time registration into the journal.
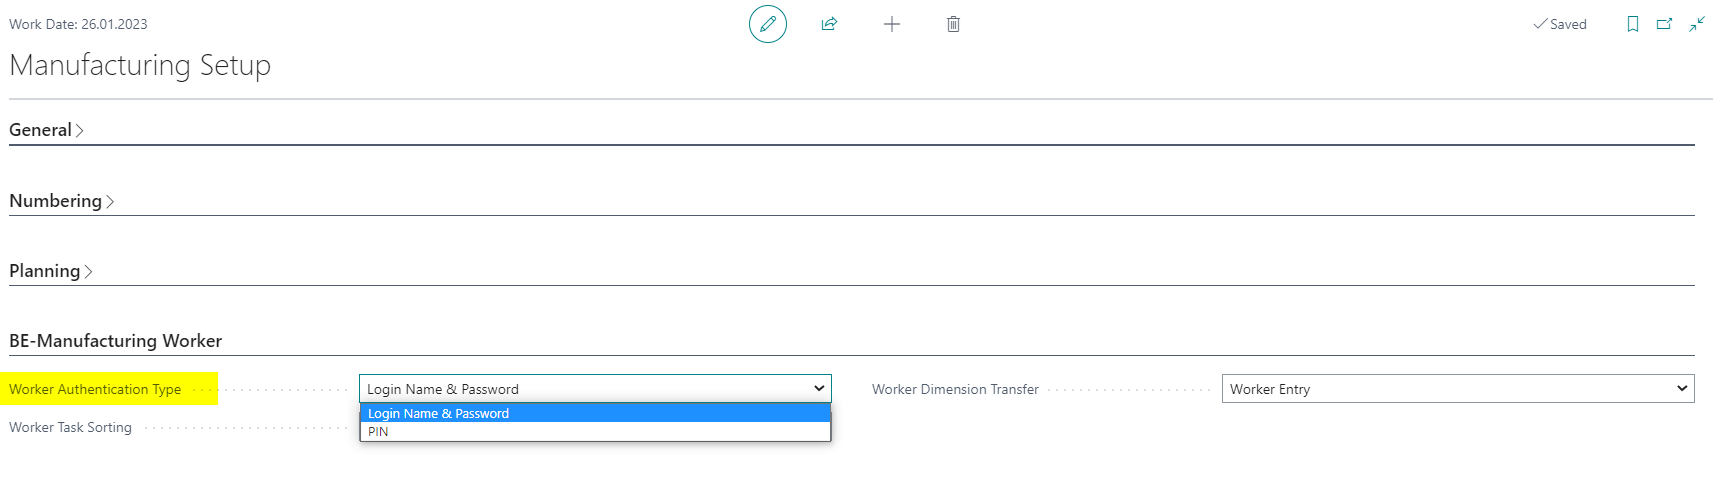
The Authentification is possible with 2 Ways: - Nummber and Password - PIN
The Main Difference is that with Number and Password needs 2 Keyboaard Inserts. With PIN is it posssible with only one single Insert. Often Barcode or RFID-Chip is used. For PIN-Authentification the PIN must be unique for the Worker within the company.
The worker authentification type can be set in the Manufacturing Setup:
For Setup Authentification of Number and Password choose Process and Change Password. The Number for Authentification the Worker-No. is used (see sample = 1234).
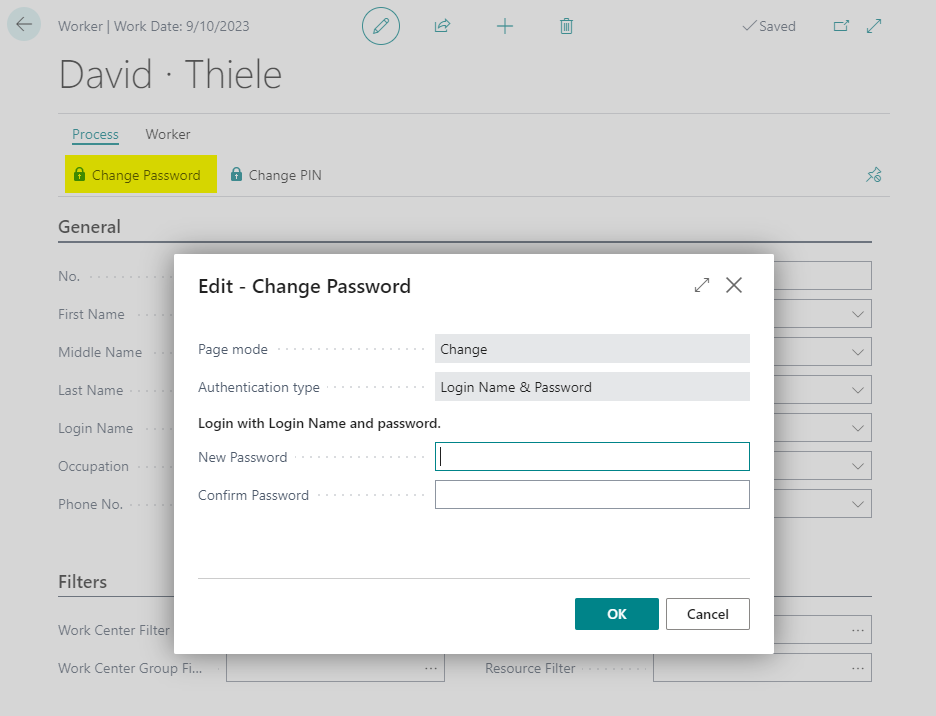
Please insert Password and confirm the Password with a second insert. Choose OK.
The second Option is the PIN. You can insert just one single PIN (Keyboard, RFID, Barcode) for the unique Registration.
Please choose Process and Change PIN:
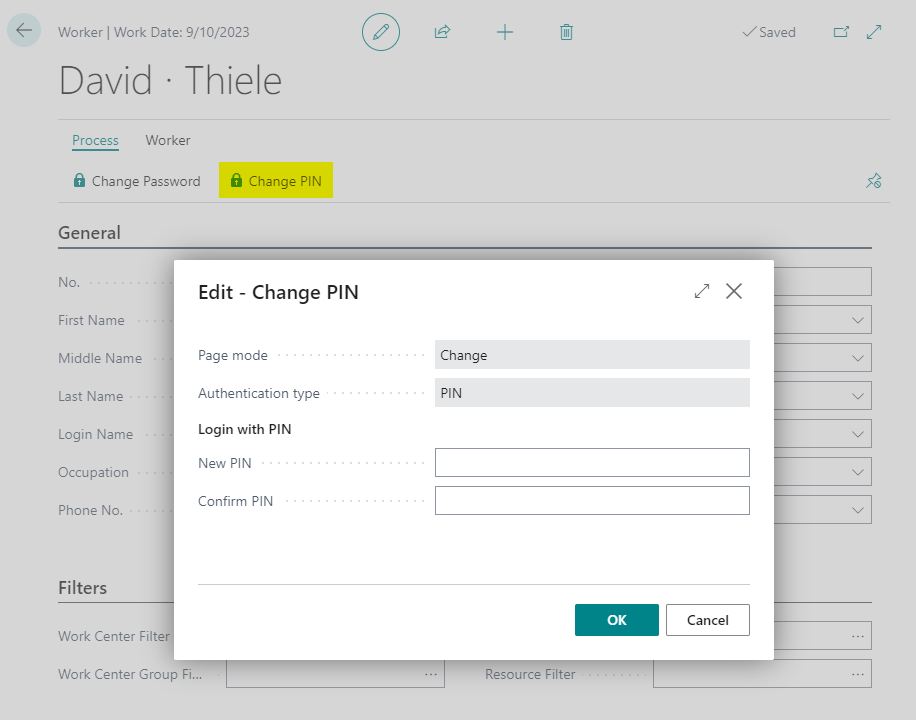
Insert the unique PIN and confirm with a second insert of the PIN. Confirm with OK.
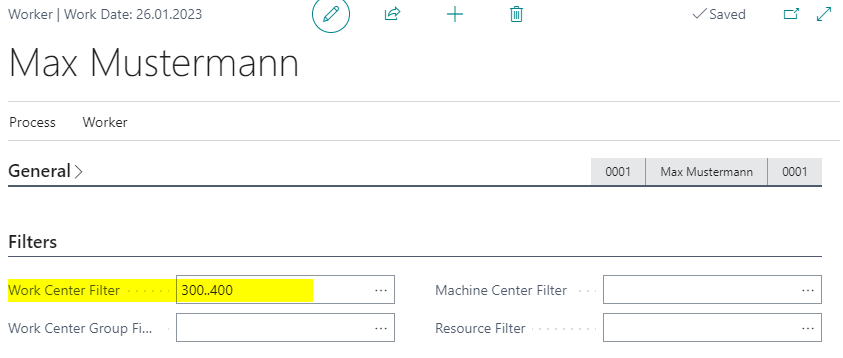
For a easy Overview for the Worker you can setup Filters for - Work Center Group - Work Center - Machine Center - Resources (for Assembly Orders)
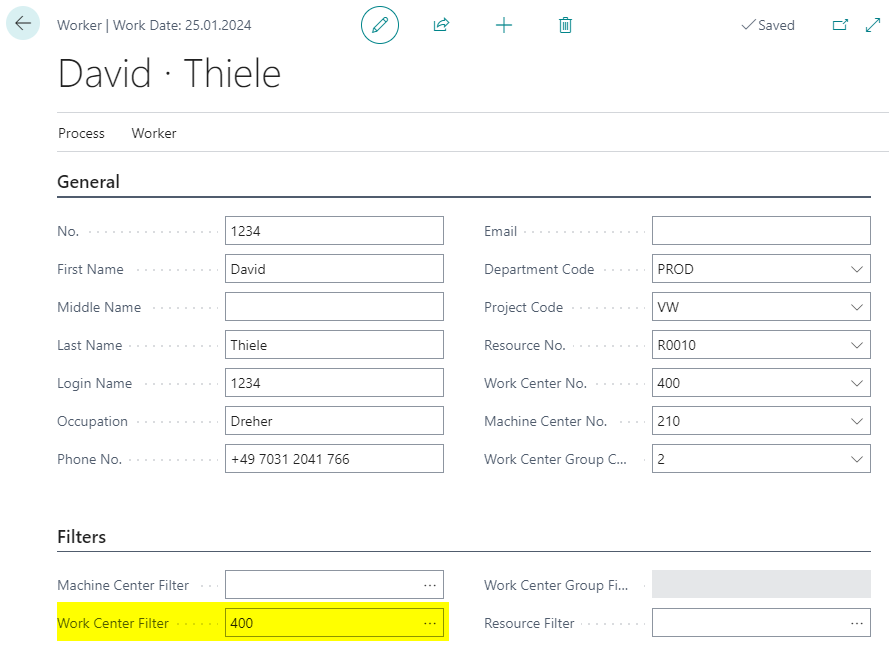
You can check the Filters in Page Time Registration (see following desciptions).
You can select the Time Registration with Menue Workers, Time Registration.
First you have to Sign In.
You can select the options: - PIN or - Number and Password
In Depends of the Option please insert PIN or Number and Password.
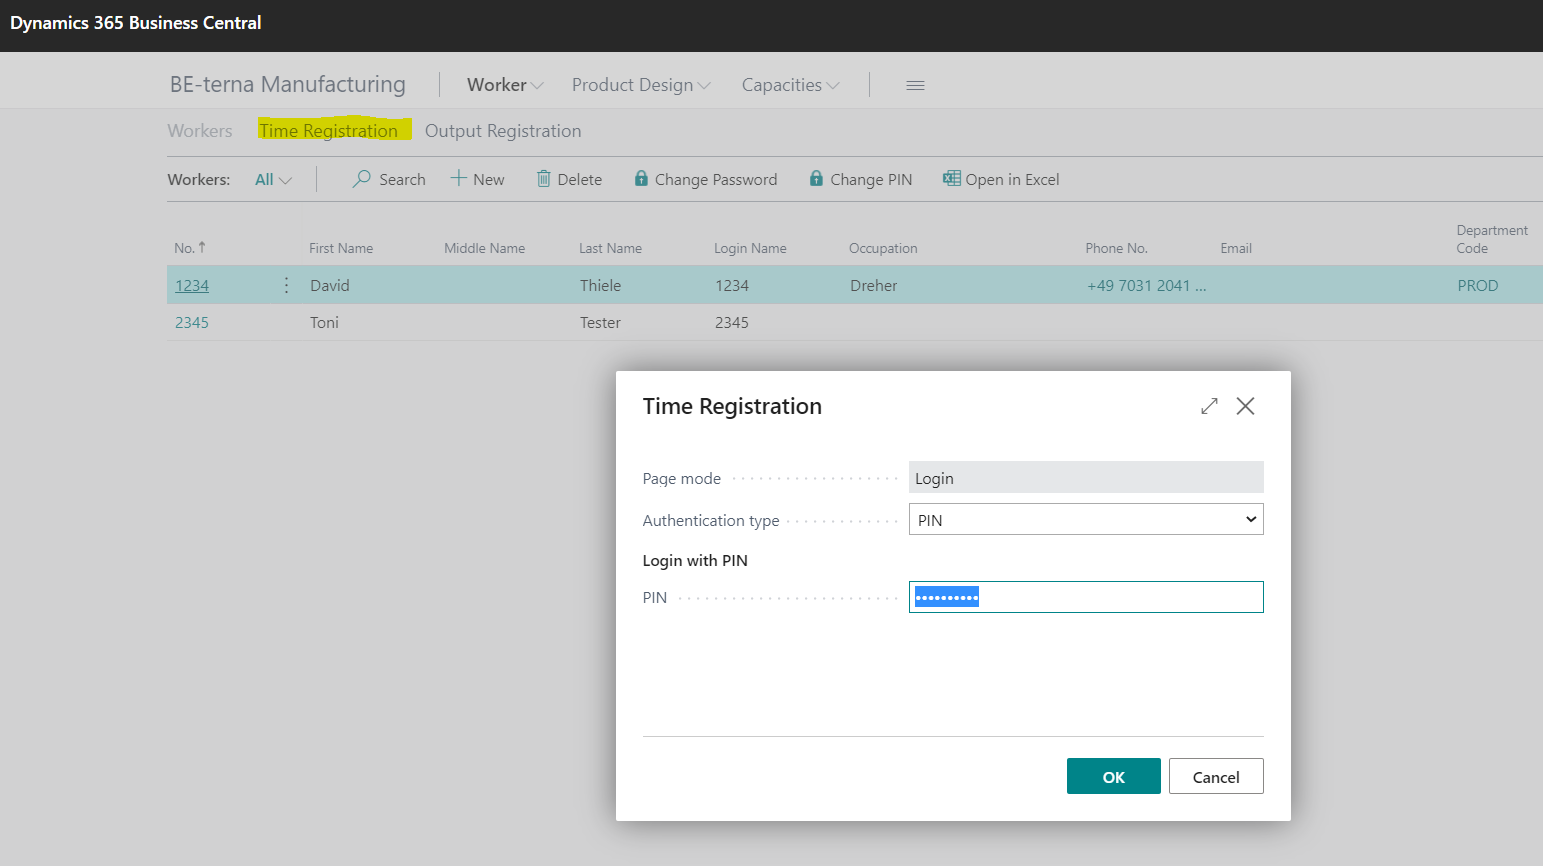
Confirm with OK.
The Page Time Registration is opend.
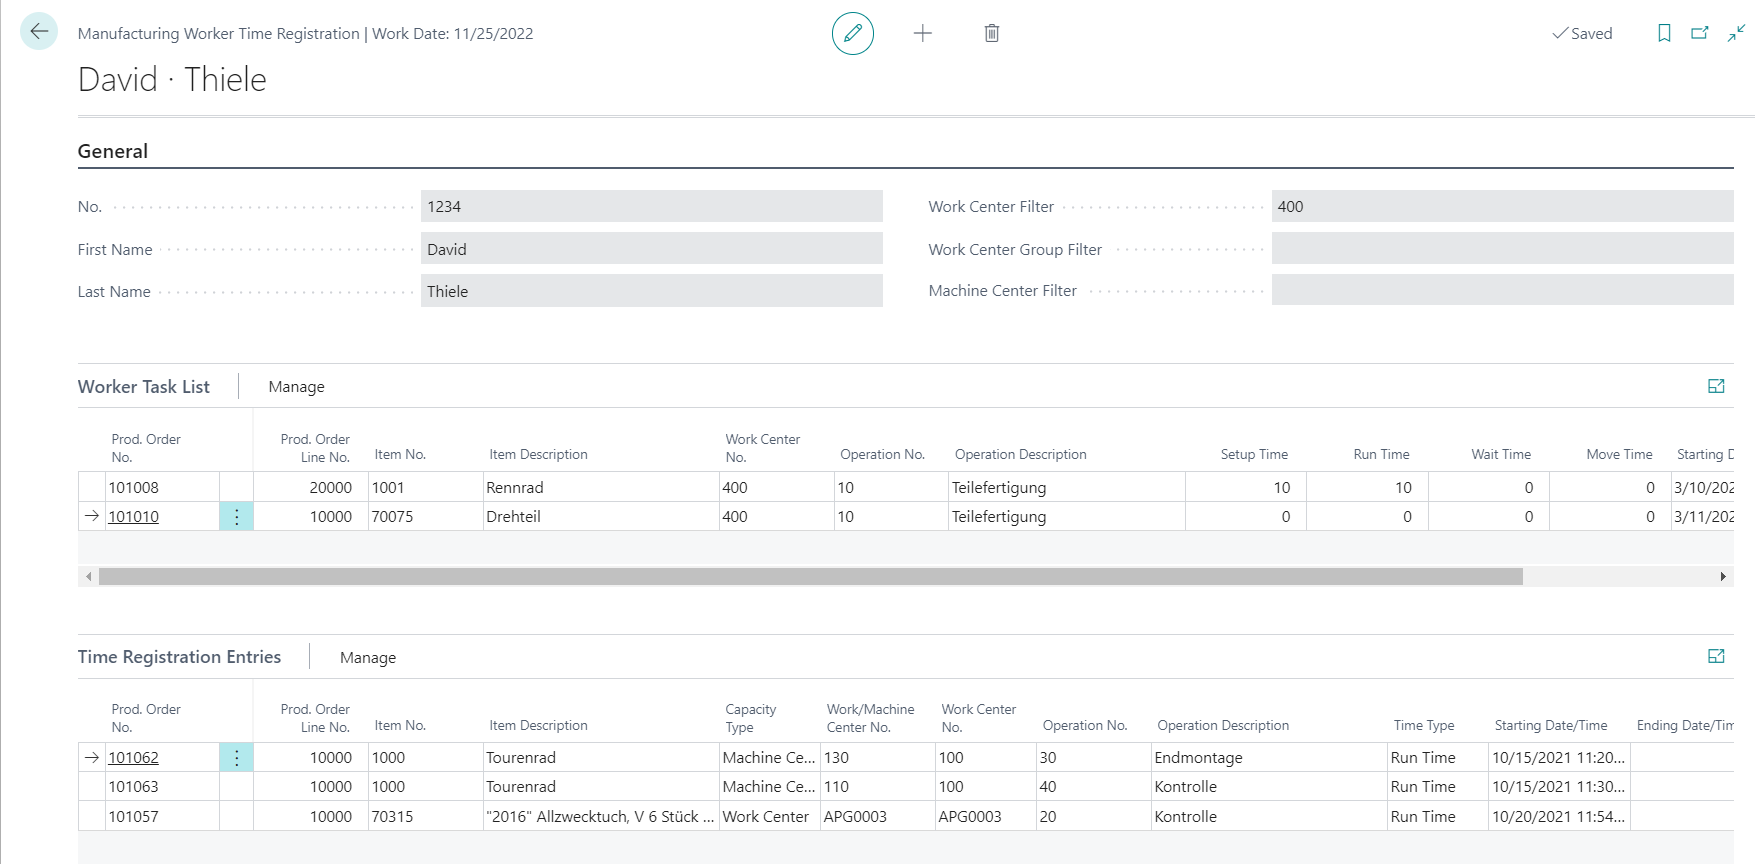
The Page Time Registration shows on Top the signed Worker (Name, Filter).
The 2 Areas with Lines are - Worker Task List - Time Registration Entries
The Worker Task List shows all Production Order Operations with Status Released. If Filters are set on Worker Card the Operations are filtered with the Kriterias for Work Center Group, Work Center, Machine Center.
It is possible to change the preset filters, which are setup on the worker, on the worker time registration page. To highlight a manually changed filter the font will be displayed red:
Standard filter from the worker:
View on Time Registration Page:

Font changed to red after manually changing the filter:

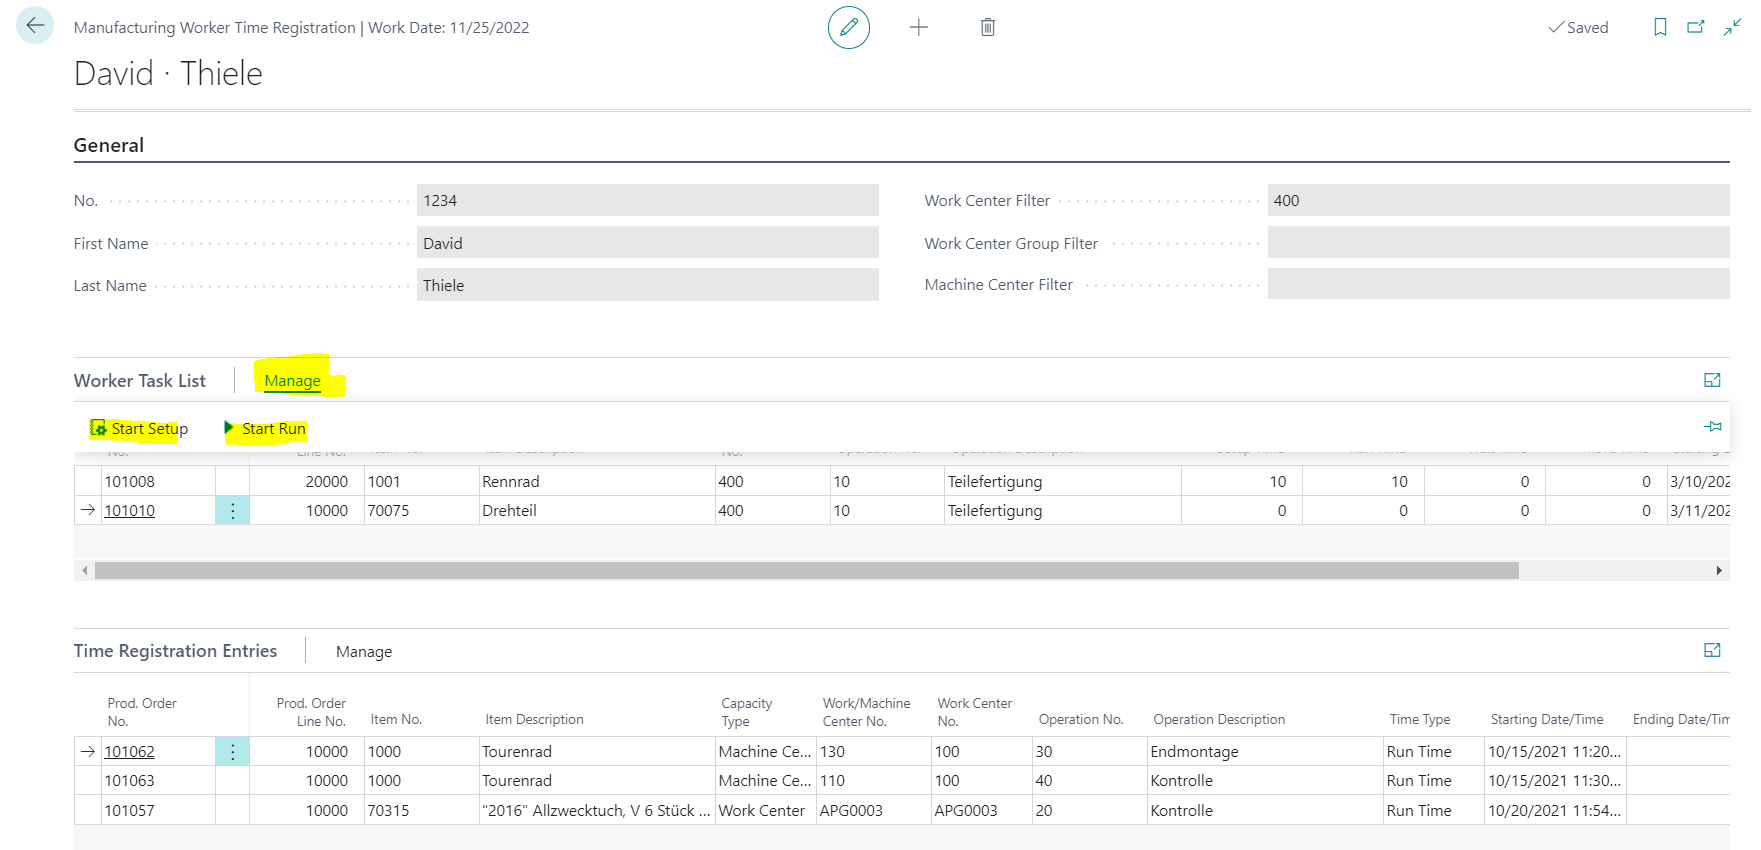
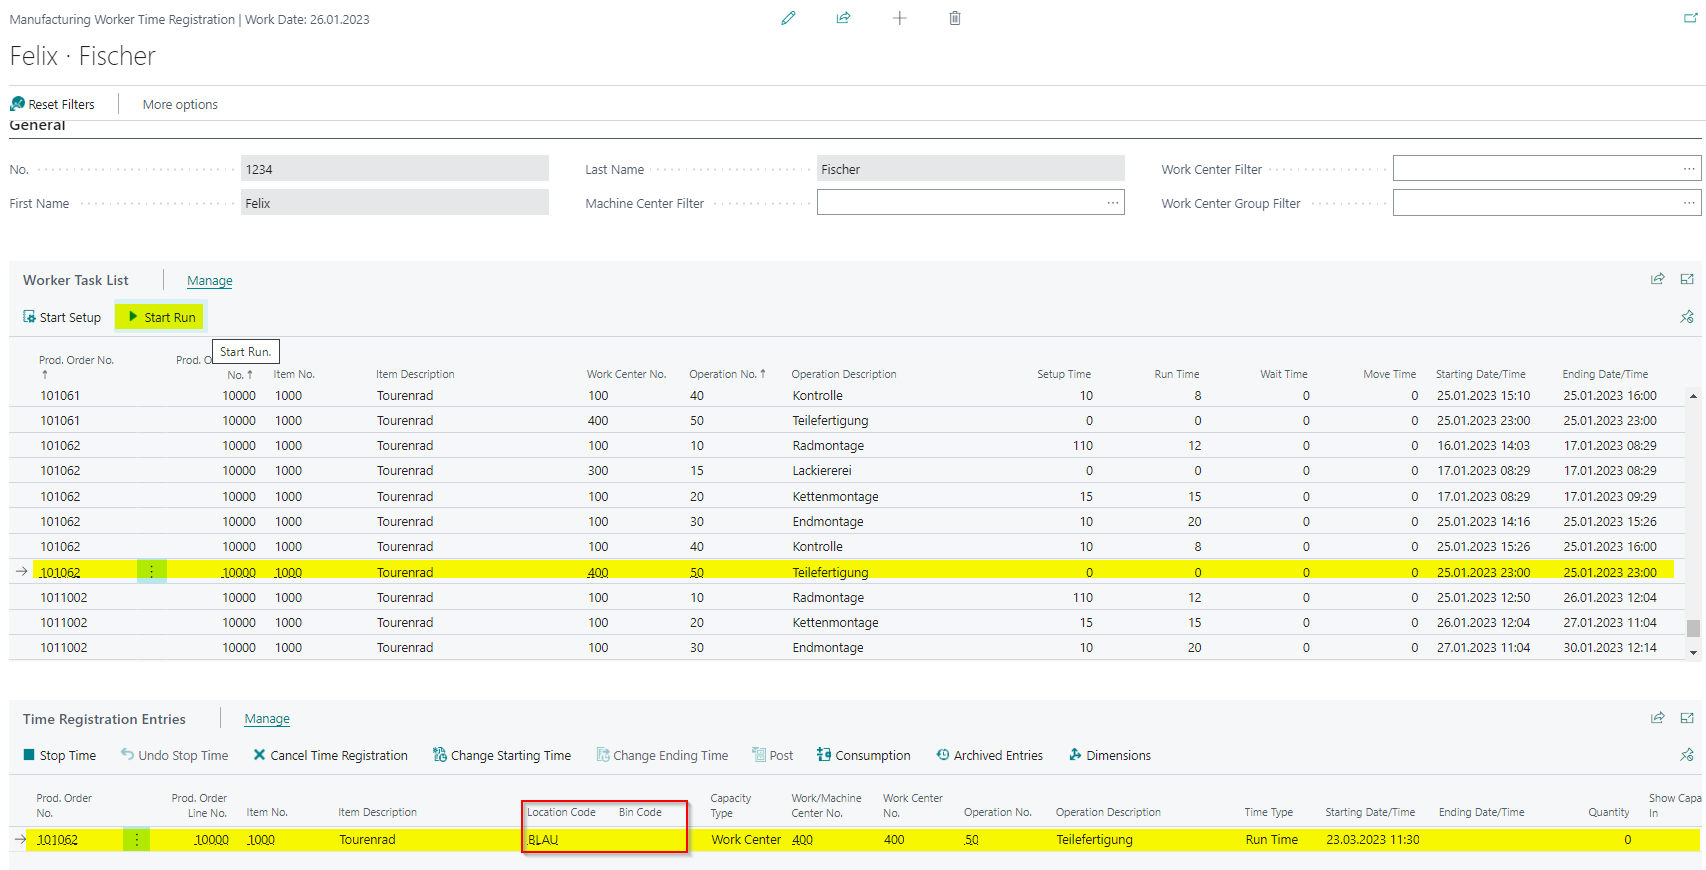
In the Area Worker Task List you can choose one or more Operations and select Menue Manage, Start Setup or Manage, Start Run.
After selection the Operation is shown in Area Time Registration Entries and the actual Starting Date and Time is filled in.
The standard sorting is set on the 'Prod. Order No.' but can also be changed to 'Starting Date' in the Manufacturing Setup via Worker Task Sorting:

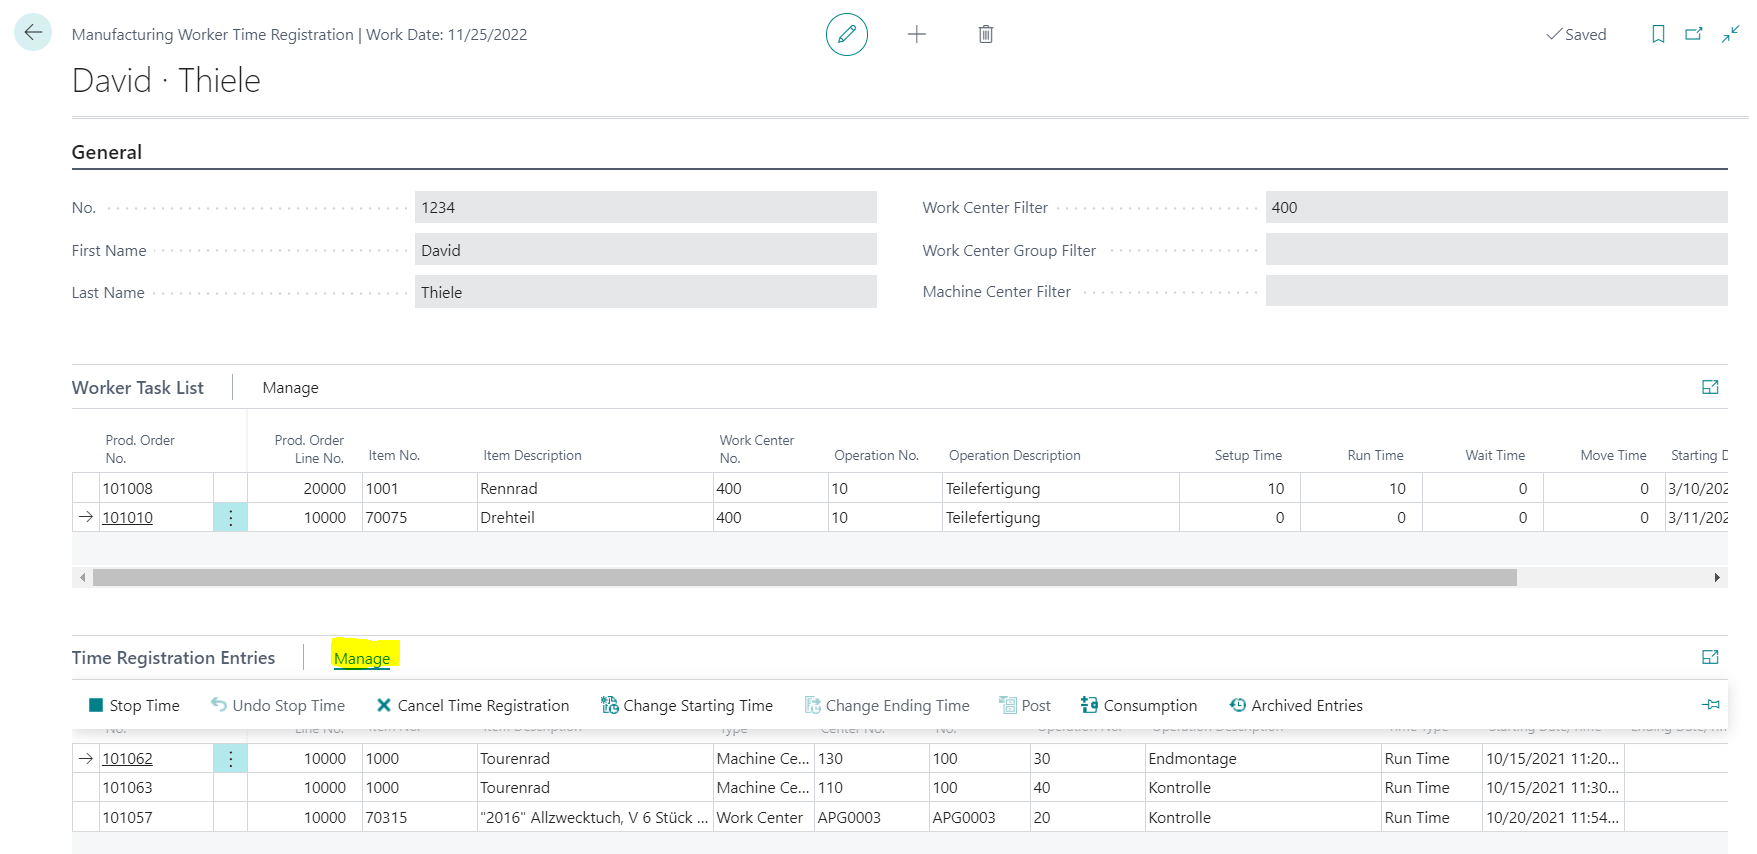
In the Area Time Registration Entries you can - Stop Time, - Undo Stop Time, - Cancel Time Regsitration - Change Starting / Ending Time - Change Item Output Location Code and/or Bin Code - Post
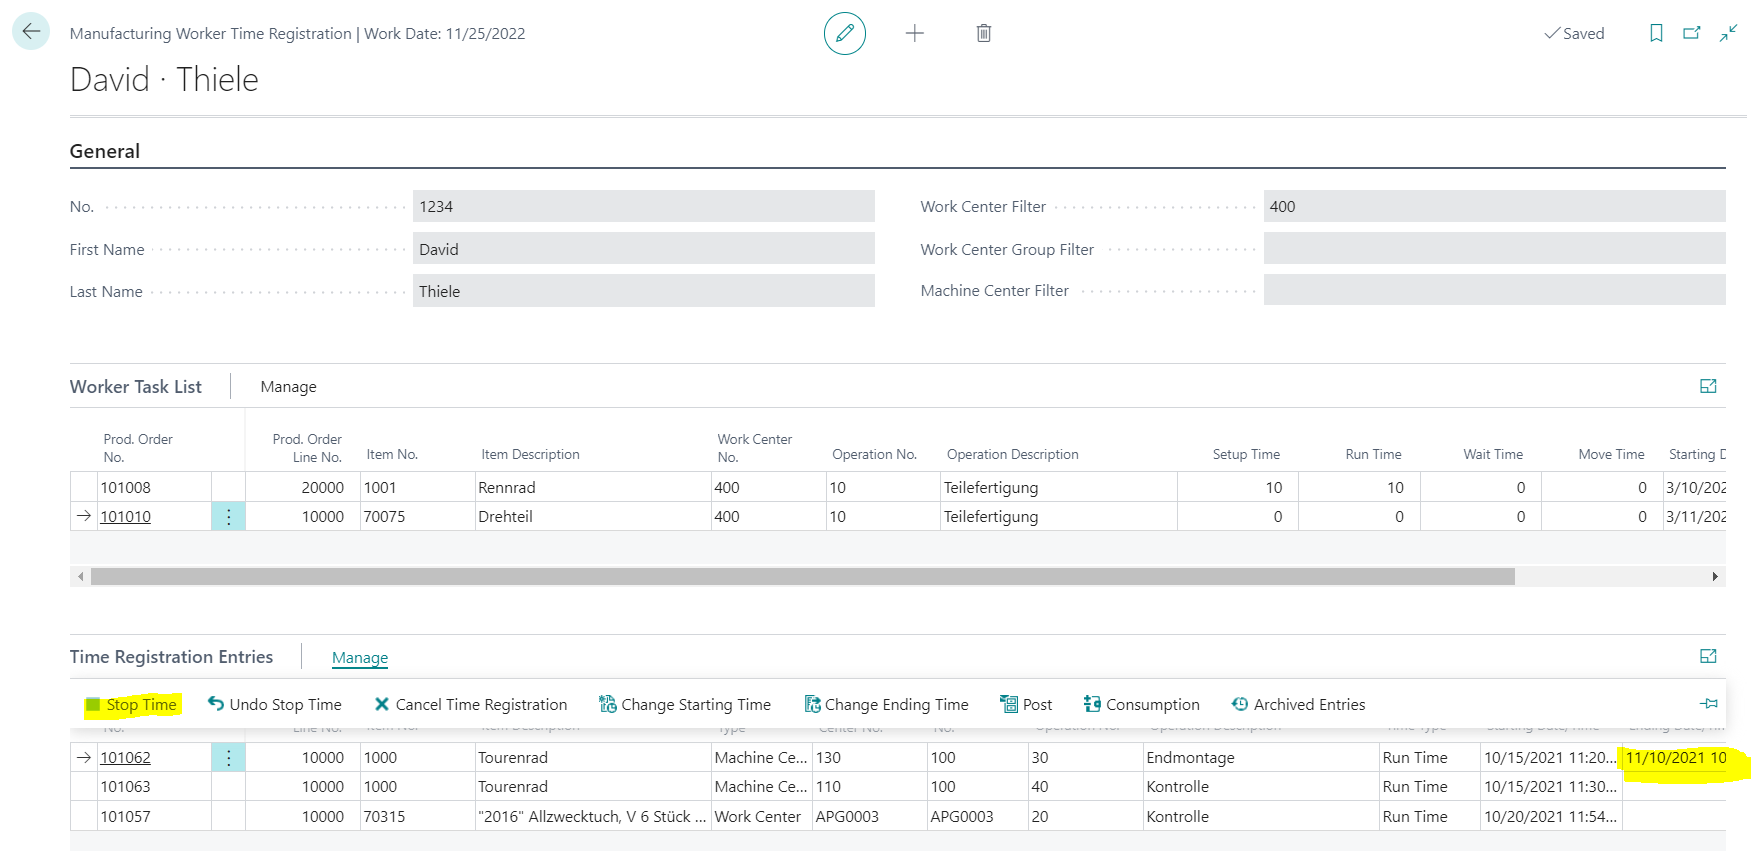
To Stop the Time Registration choose Menue Manage, Stop Time.
The field Ending Date/ -time is filled with the actual Date and Time.
You can Undo the Stop. With this function the Ending Date and -Time is deleted from selected Entries.
If you Registered the wrong Operation you can Cancel the complete Time Registration.

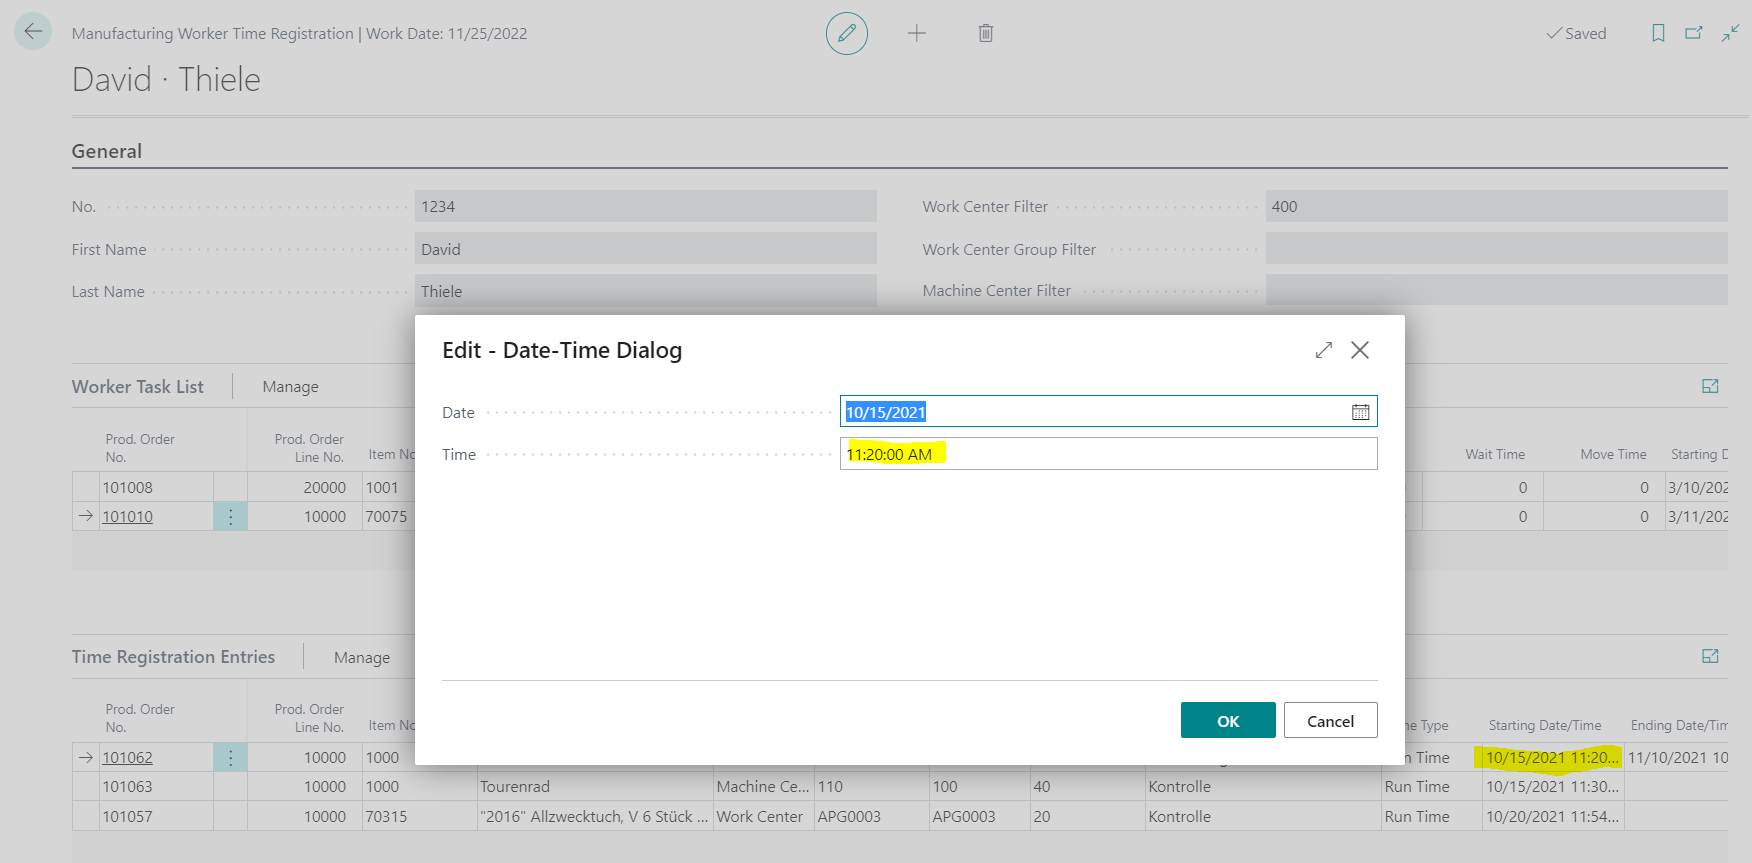
If you forgot to start or Stop the Registration at the right time you can change the Starting Time and Ending Time. Select one Time Registration, select the Menue Change Start Time / Change End Time. The actual registered Date and Times are shown and you can change them and confirm with OK.
Another way is to manually change the time needed in the field Quantity which will adjust the Ending Time accordingly.
It is possible to change the location code and/or bin code of the output item.
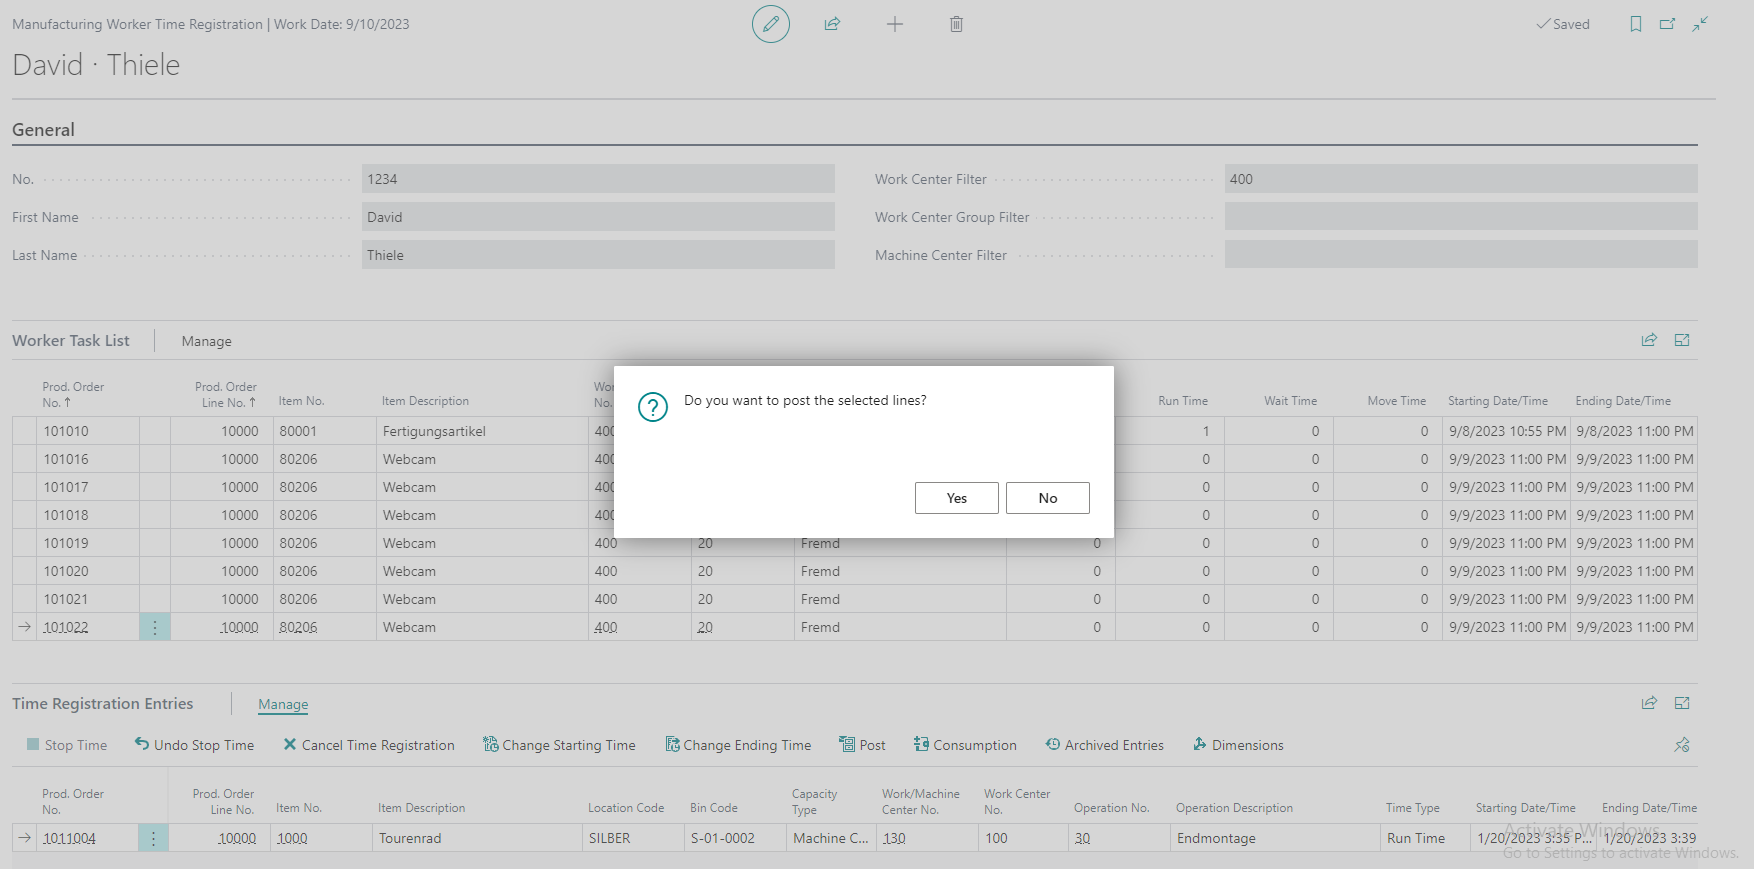
Before posting, the worker can add the location code and the bin code. To Post the Time Registration the Worker can choose the Menue for Time Registrations. The Operation Data are transfered to the output Journal. After checking the Data you can Post the Output Journal. Normaly this is not done by the Workers themselve, but by the Team Leader.
All Posted Time Registrations are shown with Menue Archived Entries or on the Role Center Menue.

The Time Registrations are transfered to the Output Journal. Please check the registrations and Post them.
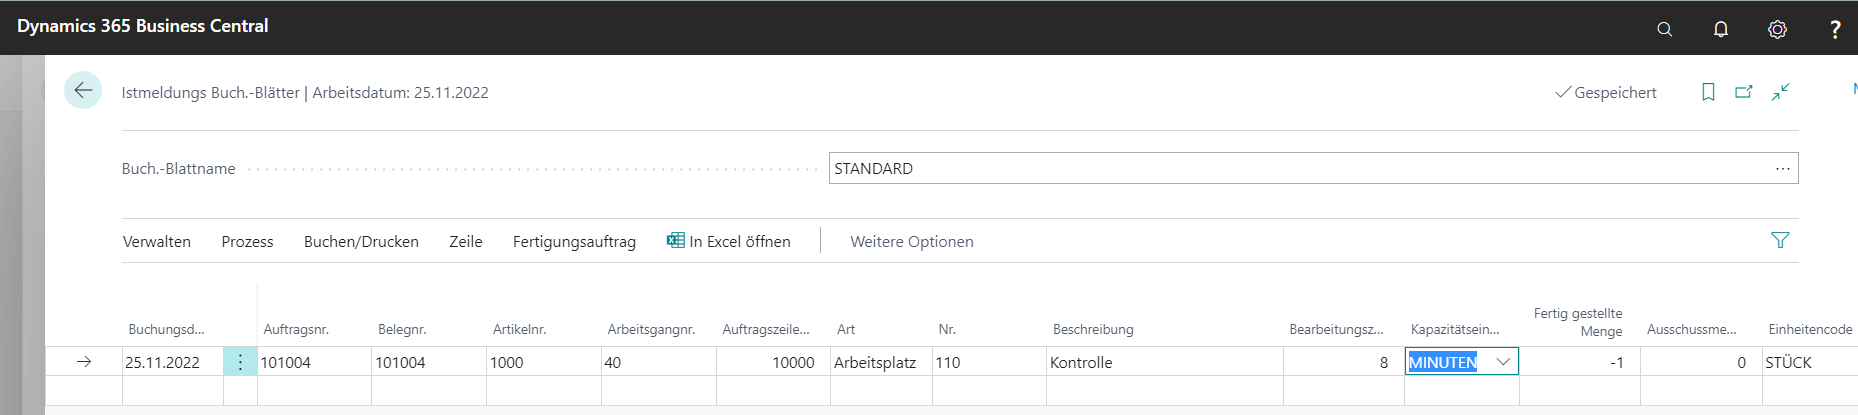
After the Posting of the Output Journal you can check the Entries as Capacity Ledger Entries and Item Ledger Entries (related to the Production Order).

Close Page Time Registration and the Worker is signed off. Another worker can use the device for their registrations.